Best practice to create a new Form is to use the Form Editor Tool. If for some reason you need to create a Form outside of the Tool, you can:
- Custom Forms > Forms.
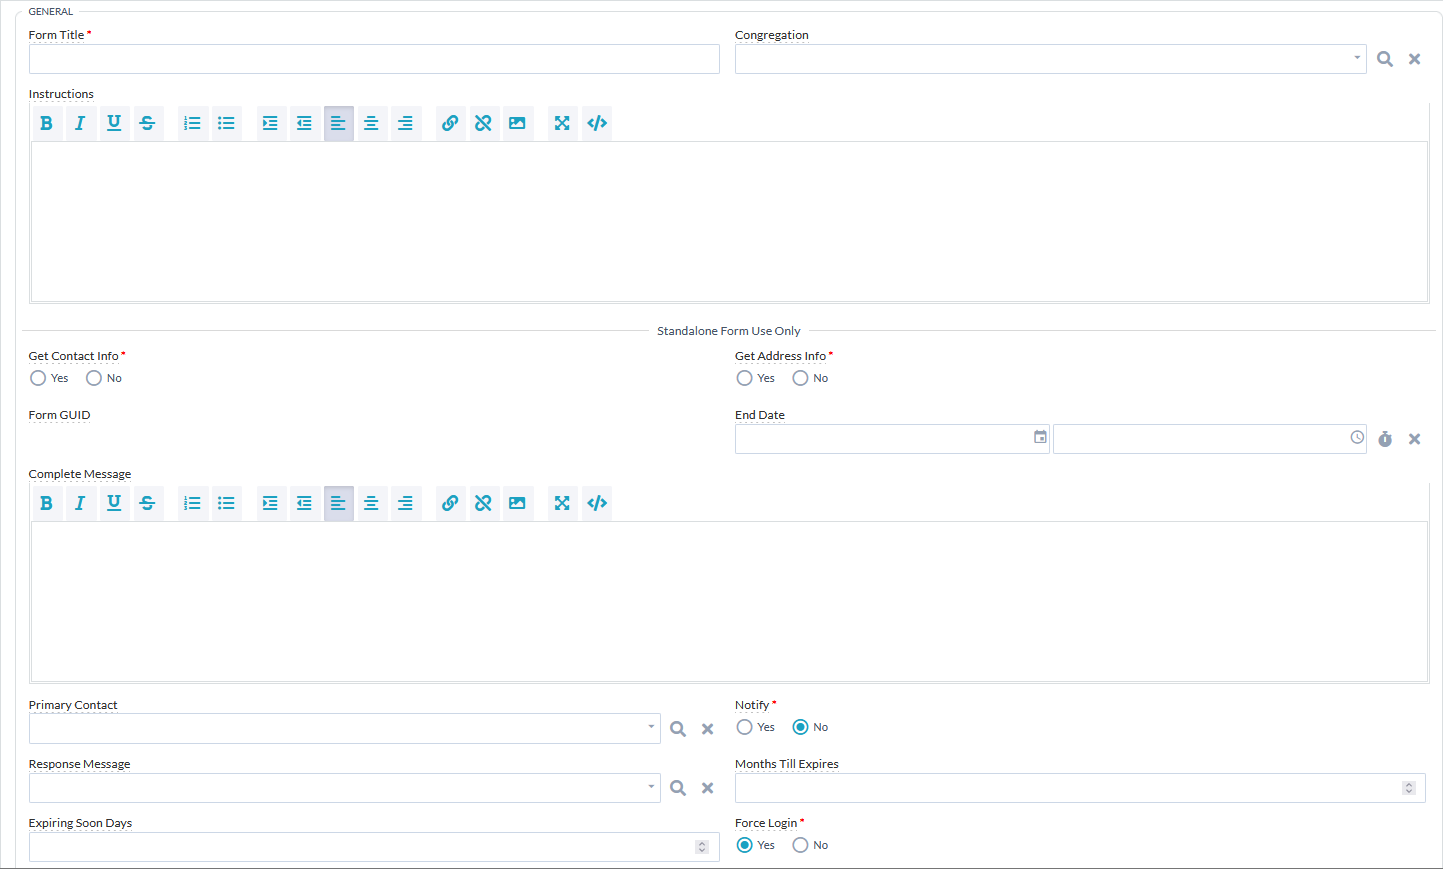
- Click New.
- Enter instructions for your Form:
- If the Form is a Stand Alone Form and "Get Contact Info" and/or "Get Address Info" is Yes, these instructions display at the top of the Form.
- If the Form is accessed as a part of event registration, an opportunity to serve, or mission trip registration, the instructions display after the Attendee and Product details and before the Form Fields.
- The Complete Message displays when the form is submitted through the Portal Custom Form Page. This only displays if used as a standalone form on the Portal. To set a Complete Message for a Custom Form in the Custom Form Widget, set the complete message Application Label.
- The Primary Contact field is used by the default Form Response Process to identify the Contact to notify and is available for custom Views and Processes.
- The Notify field, if set to Yes, is used by the default Form Response Process and is available for custom Views and Processes. Note: Using the Form Response Process is great for non-event registration-related forms. But it is not recommended for event registration forms because it's possible for a person to complete the form, but not finish their event registration, causing confusion all around. If you're tracking event registrations, use a view notification showing responses from the past 24-hours or seven days. These responses can then be compared to the registered Event Participants.
- For standalone forms, you can also add a template to the Response Message field. The routine runs every 15 minutes and will send the message to everyone who fills out your form.
- If needed, set a Congregation for your Form (optional) to ensure individuals are limited to Locations allowed by Global Filter permissions.
- If the form is a Requirement to serve with a ministry, add:
- The number of months until the form expires (for example, add 12 for a form that needs to be filled out annually) to the Months Till Expires field.
- A number of days to the Expiring Soon Days field. This indicates when the Participant's Qualifications and Certification should start displaying as expiring soon.
- If you want individuals to log in before they can complete the form, select Yes for Force Login. Note: When a form that requires a login is added to an Event, Mission Trip, or Opportunity, the individual will not be able to sign up unless they are an authenticated user.
- Click Save.
- Add fields to the Form.
Troubleshooting
The Form Title field does not support HTML. If you are having problems with the Form Responses Tool or other reports, remove the HTML from the Form title.
