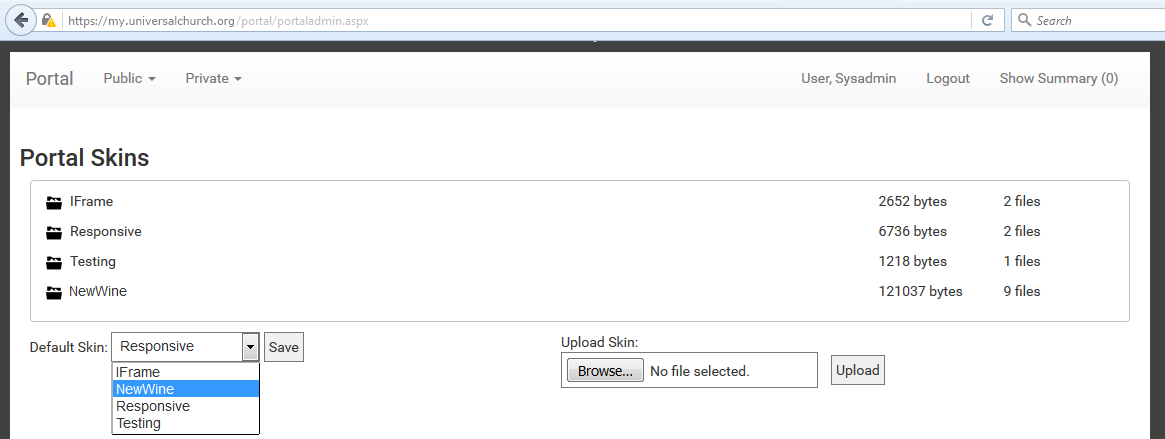
To change the default skin, use the Portal Admin page:
This powerful technique is similar to Using Multiple Skins (below), but is page specific. See Filtering With Portal Urls
It is possible to use multiple skins at the same time. Some multi-site churches like to brand each campus with different colors or websites. The Portal can be tuned to allow these different websites to each have access to the same Portal, but with different skins. Another example is having a specific Portal page (e.g., Opportunity Details page for a specific Opportunity) skinned differently than the rest of the Portal.
To accomplish this, you would create multiple skins with customized URLs in your menus. This can be combined with filters (above). You could also create a stripped-down skin and have it in either an iframe or a popup window.
This process works on any page ending in aspx. It does not work on the Portal root.
To use a skin other than the default (set in the Portal Admin page) add the following after aspx:
?template=[your skin name here]
To make this stick temporarily, you can add the following query. The non-default skin will be remembered for the duration of your browser session, but not affect anyone else.
&remembertemplate=true
After a user visits a URL with this switch, they will no longer see the default skin unless they are directed to a URL which resets the skin settings to the default (unless you have a skin named "default." In this case, it just sets the skin temporarily to the skin named "default").
?template=default
For example, this url uses the "NewWine" skin to display Event 9999. The change will stay in effect until the user closes the browser or session times out on the server (due to user inactivity).
https://my.example.com/portal/event_detail.aspx?id=9999&template=NewWine&remebertemplate=true&filter=month:2|year:2017|campus:0|ministry:0|listview:0|featuredevents:0
Notice that the skin settings can be incorporated into the url with other settings (query strings).
The whole query string starts with "?" and follows aspx in the page's file-name. All following settings are separated with "&" symbols. A common mistake is to introduce an extra "?" symbol after the initial one.
The example above can be broken down into 4 parts (only the first one starts with "?" and the others start with "&"):
To embed a skin in another website, see Embedding Skins
When you have issues with the default skin, you can always override this in the URL and reset the session to use a working skin (such as "Responsive").
Use the following URL to reset your default:
/portal/site_index.aspx?template=Responsive&remebertemplate=true
