Basics
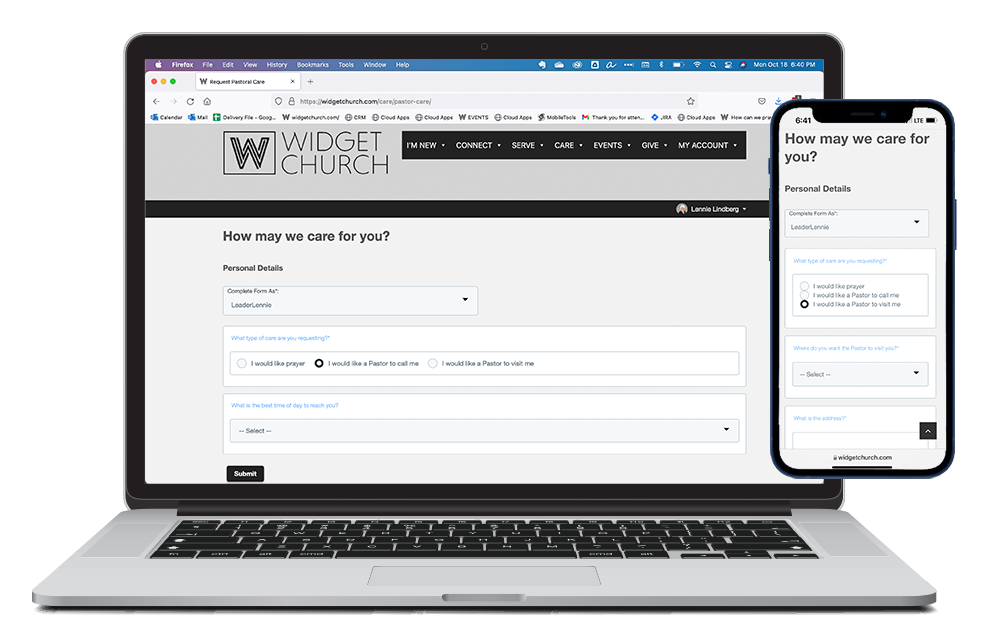
The Custom Form Widget allows individuals to complete a Custom Form.

- The Widget can display one form of your choice, or you can embed the Widget in a page to display multiple standalone forms that users access via a link.
- Fields are sorted by Field Order as defined on the Form Field records.
- Additional Fields may display depending on conditional logic.
- If a form was set up with the Force Login field set to "Yes", individuals are prompted to log in before they can complete the form. Unauthenticated individuals only see the Form Title and a Login button. They will not see any fields until they log
in.
- You can see a preview of your form! In the following URL, replace [church domain] with your church's domain and enter the form's GUID:
https://[church domain]/widgets/get_form.aspx?ID=[form GUID]
Sections
- Instructions: Form's Instructions field.
- Contact Fields: Fields for First Name, Last Name, Email Address, and Mobile Phone display and are required if Get Contact Info is set to "Yes" on the form. This information is used to match the Respondent to an existing Contact or
Default Contact.
- Address Fields: Address fields display and required if Get Address Info is set to "Yes" on the form. Fields are pre-populated for authenticated users if their address is known. Overwriting the pre-populated values will update the
Form Response, as well as the Contact record and/or Household address.
- Form Fields: All Form Fields associated with this form display unless hidden or dependent on another field.
- Complete Form As: This drop-down allows an authenticated user to choose their personal record or the record of a family member. The information of the chosen record is pre-populated for Contact Fields and Address Fields as applicable.
Actions
- Login: If the form was set up with Force Login set to "Yes", a Login button displays under the Form Title, along with a message prompting the individual to log in. All other fields and buttons are hidden until they log in.
- Use the contact/address info provided to update my record on file: If an individual is logged in, they can choose to update their Platform record using the information they submit on the form under Contact Fields and Address Fields.
By default, this option is cleared, so the user must select it if they want to update their record.
- Upload a File: A user can upload a file, such as an image or scanned page, with their form. Accepted file types include .pdf, .png, .gif, .jpg, .jpeg, .jfif, .pjpeg, .pjp, and .avif. The total maximum size allowed is 20 MB for all attached files. Note: Uploaded images are resized down to 800 pixels.
- Submit Form: Creates a Form Response record along with Form Answer records for each Form Field. Form Responses are assigned to the individual if authenticated or matched; otherwise, Responses will be assigned to Default Contact.
Setup
Want to set up the Custom Form Widget? See Configuring Custom Form for details to get started!

