Basics
- The Contact Log Tool is optimized for mobile, so you can capture contacts as they happen.
- The Contact Log Tool allows you to quickly add a Contact Log record
for one or multiple individuals.
- When launched from a selection of records, the same Contact Log entry will be added to each selected Contact record.
- When launched from an open record, you can input a Contact Log entry for that Contact.
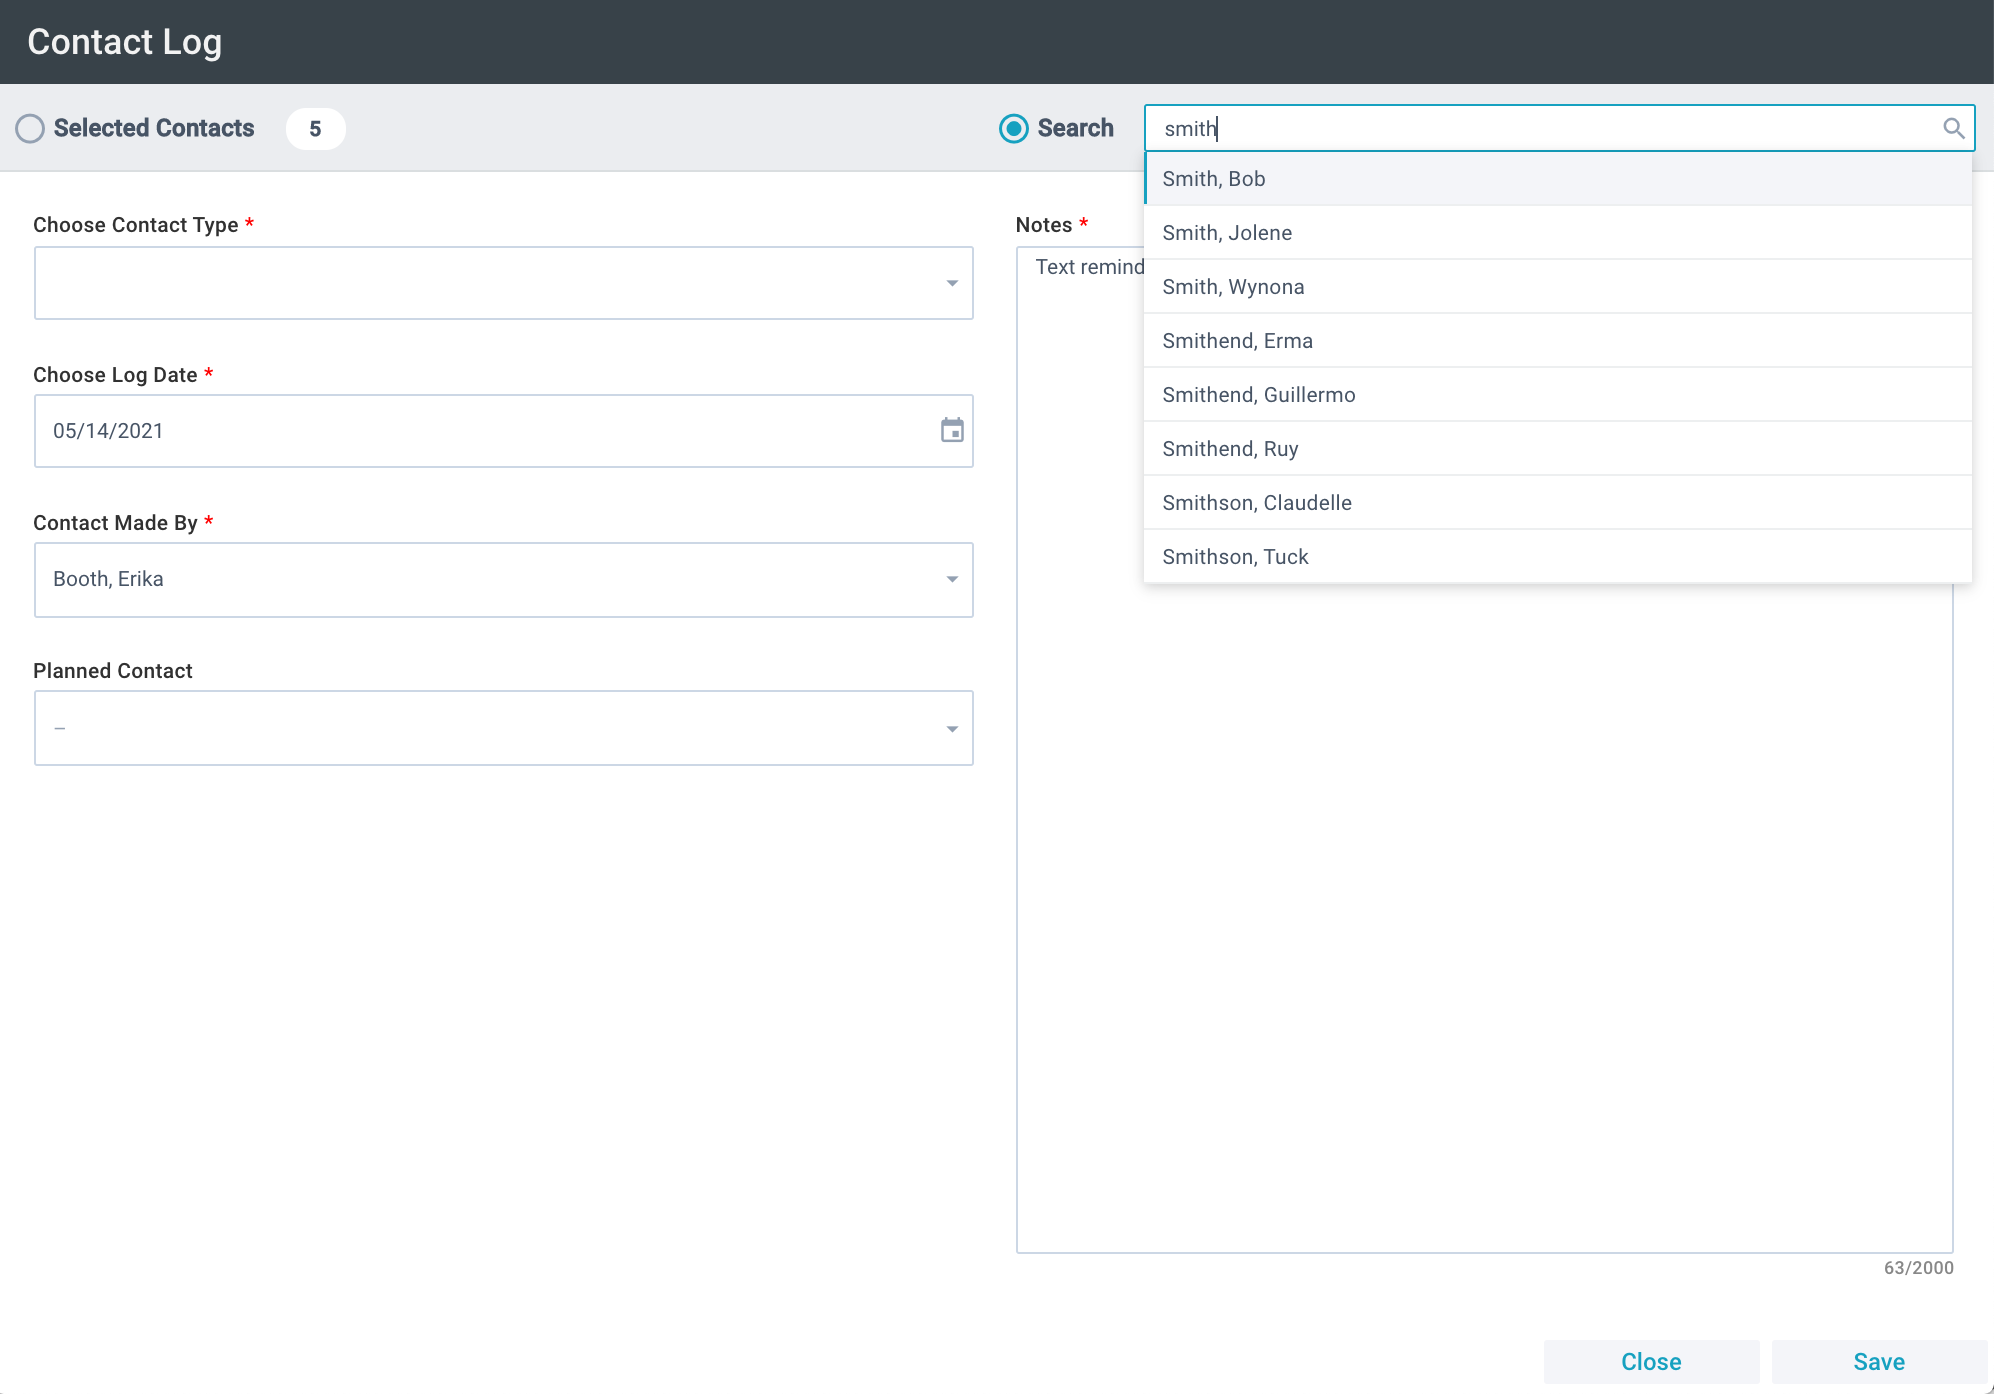
- No matter how the tool is launched, you can also search for the desired Contact. Search results (if available) appear and update as you type.
- The "Contact Made By" field will auto-populated with the Contact of the User launching the tool but can be changed. You can select from a list of Users who have at least one Security Role or the Unassigned Caller. Note: The Contact
Log Tool uses the security context of the original logged in user. It does not take on the security context of impersonated users.
- After clicking Save, your Contact Log details are saved and can be applied to another Contact by:
- Searching for and selecting the next desired Contact (made easy by the cursor appearing in the search box after saving ;)) and
- Clicking Save.
- Information logged via the Contact Log Tool is stored:
- On the Contact Log sub-page of the applicable Contact record(s), and
- In Communications > Contact Log.
- The current time the Contact Log was made is appended to the Contact Log Date—even if a past or future date is selected.
- You can use the Contact Log Tool to update restricted/secured records by including them in a selection and launching the tool from that selection. Note: The Contact Log Tool will not populate the search area with a secured record.
 Initial
Setup
Initial
Setup
The Contact Log Tool is already available on over twenty-five pages of MinistryPlatform. If needed, a SPoC or Support can deploy the tool to additional pages,
if Contact_ID_Field is defined on the desired page.
- Ensure the desired Planned Contacts are defined (found
in Communications > Planned Contacts).
- If you need to set the Made By as the Unassigned Caller for My Calls make sure the appropriate User ID is set in the COMMON, MyCallsAssignableUserID Configuration Setting.
- SPoCs can grant user access to this tool via the normal process.
Using the Contact Log Tool
- Launch the tool by either:
- Selecting desired record(s) > Tools > Contact Log Tool, OR
- Going to Contacts page > open desired Contact record > Tools > Contact Log Tool, OR
- Tools > Contact Log Tool > Search for the desired Contact.
- Search results (if available) appear and update as you continue to type.
- If no match is found, add the individual using the Add/Edit Family Tool and then search again.
- Enter the desired Contact Log information.
- Click Save.
- Once processed, click Close on the progress dialogue.
- Repeat, if needed.
